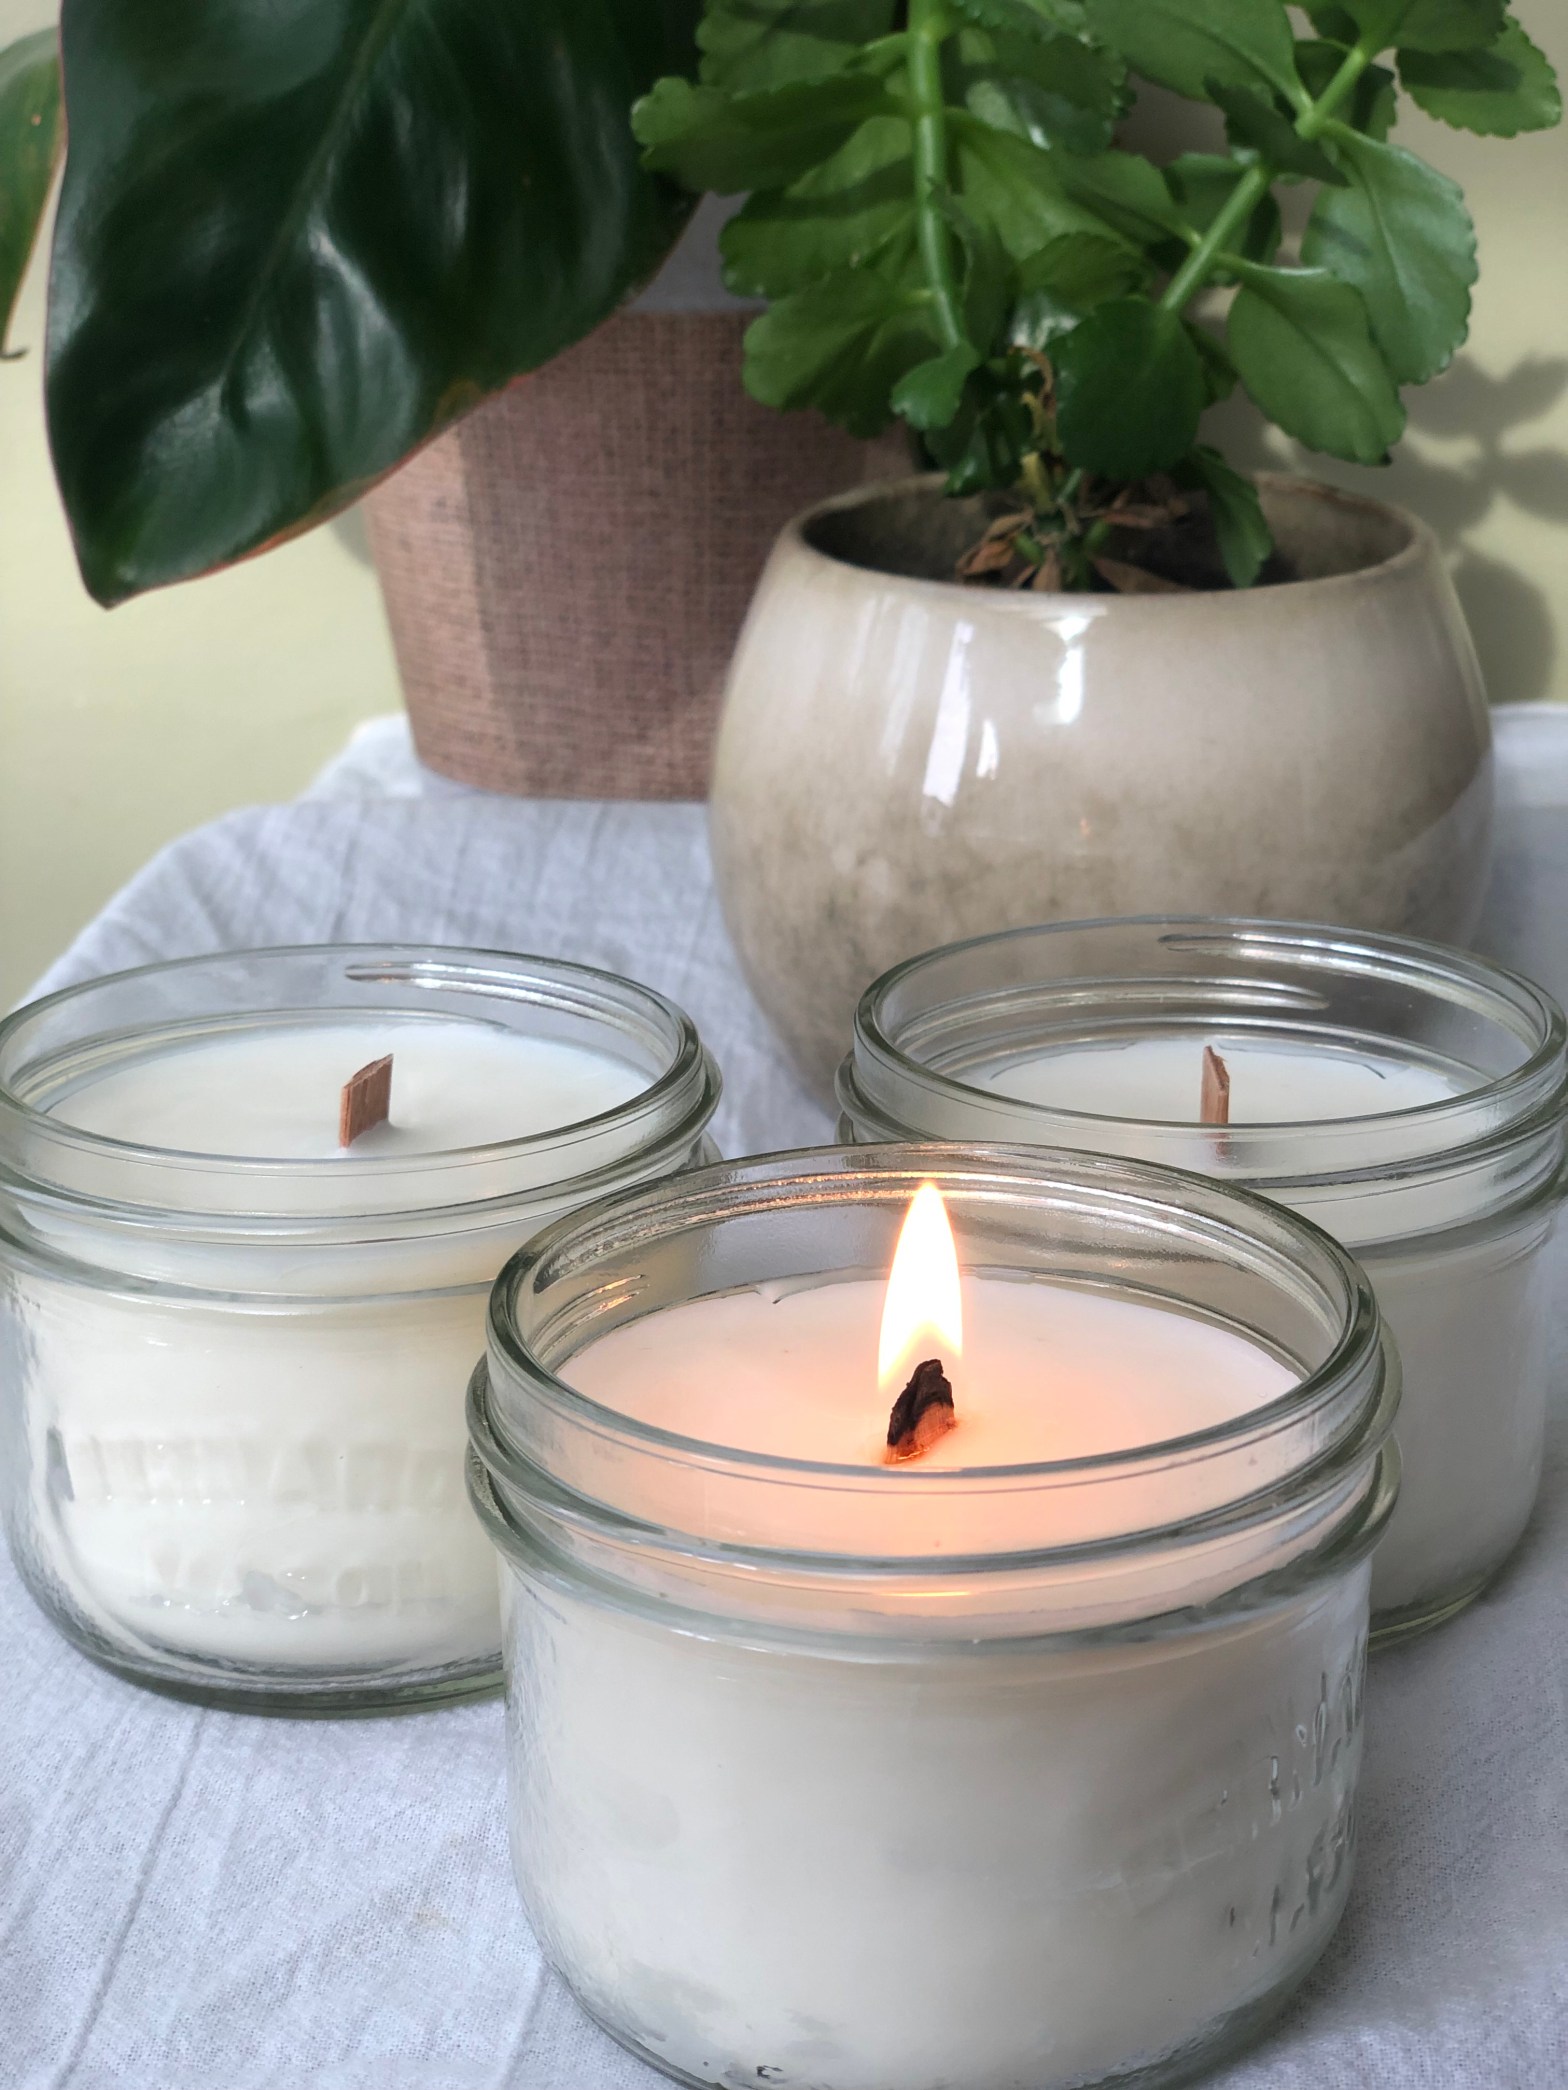
I love a good candle.
I think it’s the ambiance, the warmth, and that they cast a beautiful soft glow across my mid-thirties face like an Instagram filter does.
What I don’t love about candles are the ingredients of many of them on the market. I’m not into the fake fragrances and once I realized how darn EASY it was to make my own candle, well, I made my own candle.
It turned out so well, I’m sharing it with you!

Why Use Soy?
Soy is a natural and renewable crop. Burning a soy candle will not release any nasties into the air, and there will be no soot residue to clean up. A soy candle burns slower than its paraffin or beeswax counterparts. This means the melted wax is less hot (handy for the clumsy folks) and the scent will disperse better (if you make them scented), because it doesn’t get heated off as quick. Soy candles are vegan friendly.
Why Don’t I Add Fragrance?
I like candles for the ambiance and the hygge vibe. If I was going to scent my candles, I would want to use a pure, non-synthetic smell, like essential oils. The problem I find with using essential oils in candles is that you need A LOT of essential oil, and the wax doesn’t hold the scent or disperse it that well. This can turn your DIY project into a costly experience, and if I’m being honest – I like my oils in my diffusers and not my candles.
If you need fragrance in your candles, there are fragrance calculators available online to help you get the balance right … but maybe try scent free just this once.
So here we go, let’s make a candle. I promise this is going to be ridiculously easy.
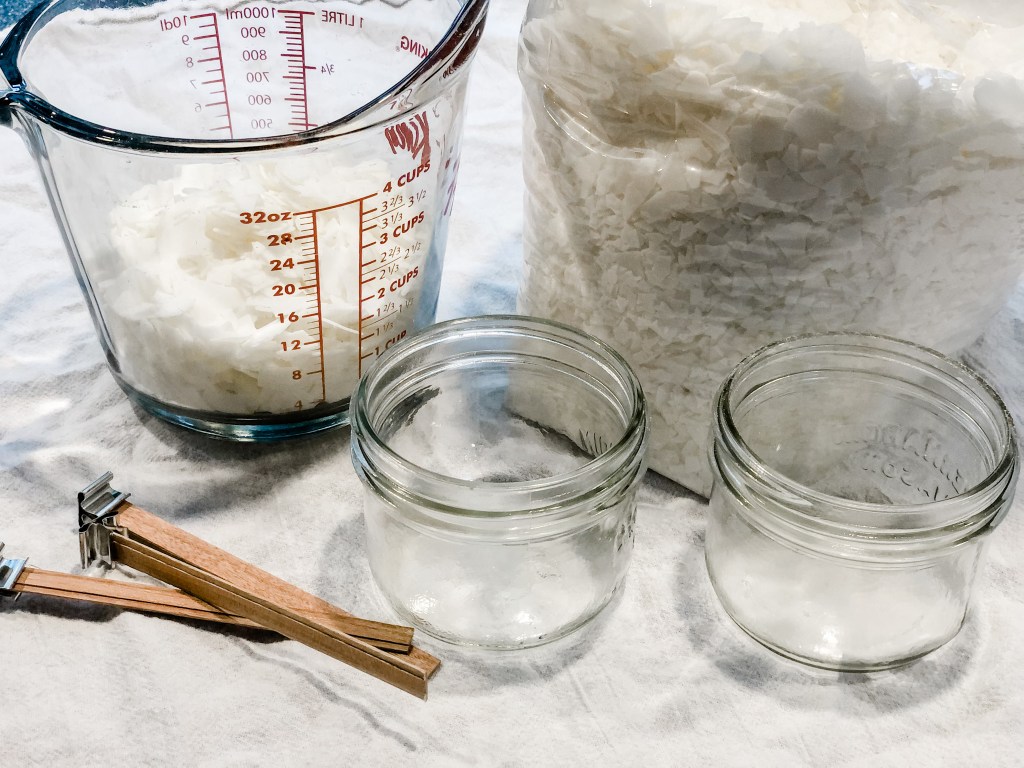
What You Need:
- 2 cups of soy flakes
- One 250mL glass jar or tin container
- Glass measuring cup
- Candle wick
- Chopsticks, popsicle sticks, or tape to hold the wick in place
- Stir stick

Get ‘er Done:
- Place measuring cup with wax in a few centimeters of boiling water to create a double boiler.
- When the wax is melted in the double boiler, remove from heat and use a spoon to drip a little bit of wax at the bottom of your jar or canister.
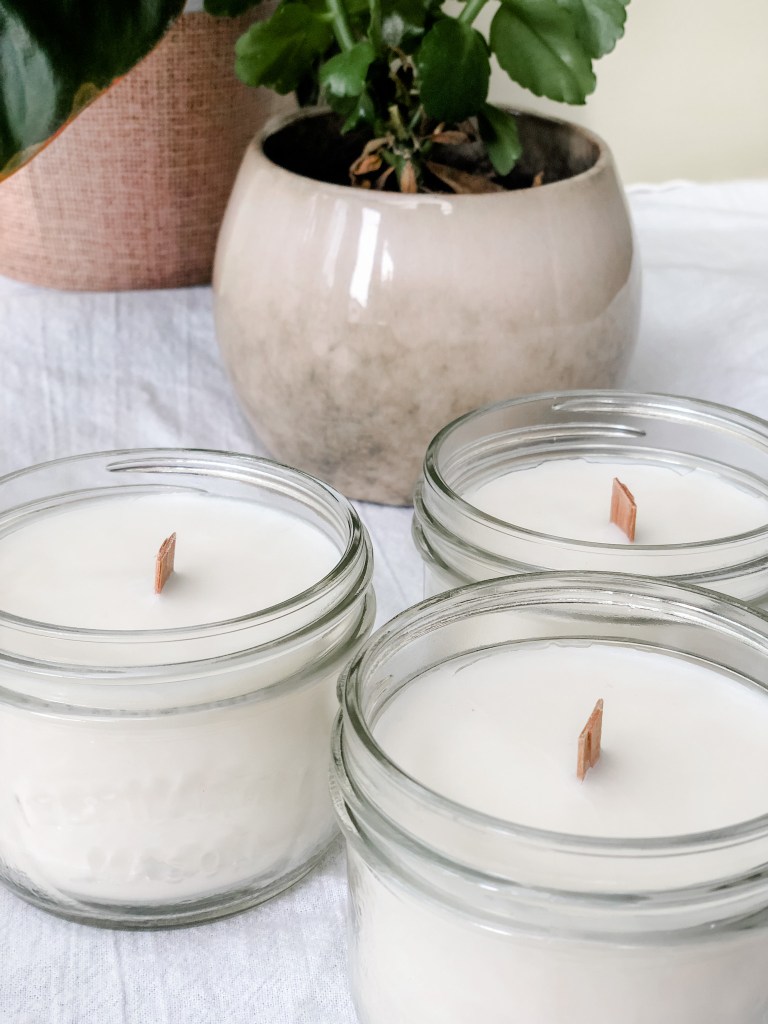
- Stick the wick in place while the wax is still liquid. Hold the wick in place until the wax is cool and hardened.
- Pour in the melted wax to fill your jar using 2 popsicle sticks to keep the wick in place while the wax is cooling and hardening.
- Wait 45 minutes for the wax to cool and harden.
- Once the candle is hardened, trim the wick so that it sits about a centimeter above the top of the wax.
- Light it up!
I source my supplies for DIYs from small, local suppliers wherever possible. For this project:
Soy wax and wooden wicks – from Voyageur Soap & Candle
Please make sure you’re burning responsibly!
Catch you later,
“Thousands of candles can be lighted from a single candle, and the life of the candle will not be shortened. Happiness never decreases by being shared.”
Buddha
